What to Expect at Your Home's Final Walk-Through: A Complete Guide
Congratulations! You're just days away from closing on your new custom home. The final walk-through, also known as the pre-settlement orientation, represents one of the most important appointments in your home buying journey. This is your opportunity to ensure everything is complete, functional, and ready for you to move in.
At Keel Custom Homes, we take this process seriously. Led by experienced project managers like Baker, your final walk-through is a comprehensive tour designed to familiarize you with every important system, feature, and maintenance requirement in your new home. This isn't just a formality—it's an essential step that protects your investment and sets you up for successful homeownership.
In this guide, we'll walk you through exactly what to expect during your pre-settlement orientation, what you should look for, and how to make the most of this critical appointment.
What Is a Pre-Settlement Orientation?
Understanding the Purpose
Your pre-settlement orientation serves multiple essential purposes:
Educational Walk-Through The primary goal is to make you thoroughly familiar with your home before you take ownership. Your project manager will demonstrate how to operate various systems, explain maintenance requirements, and answer any questions about your new home.
Quality Verification This is your chance to verify that all work has been completed according to your contract specifications. You'll check that finishes are correct, systems are functioning, and any punch-list items from previous inspections have been addressed.
Documentation Process Any items that need attention will be documented on an official pre-settlement orientation list. Both you and your project manager will sign off on this list, creating a clear record of what needs to be corrected before or shortly after closing.
Peace of Mind Walking through your home with an expert ensures you'll know exactly how to maintain and care for your investment from day one. This knowledge prevents costly mistakes and helps you protect your home's value.
When Does It Happen?
The final walk-through typically occurs:
24-48 hours before closing: This timing allows for any last-minute corrections if issues are discovered
After final cleaning: Your home should be move-in ready with all construction debris removed
Before furniture delivery: You'll see your home empty, making it easier to inspect surfaces and systems
The Kitchen Walk-Through: Heart of Your Home
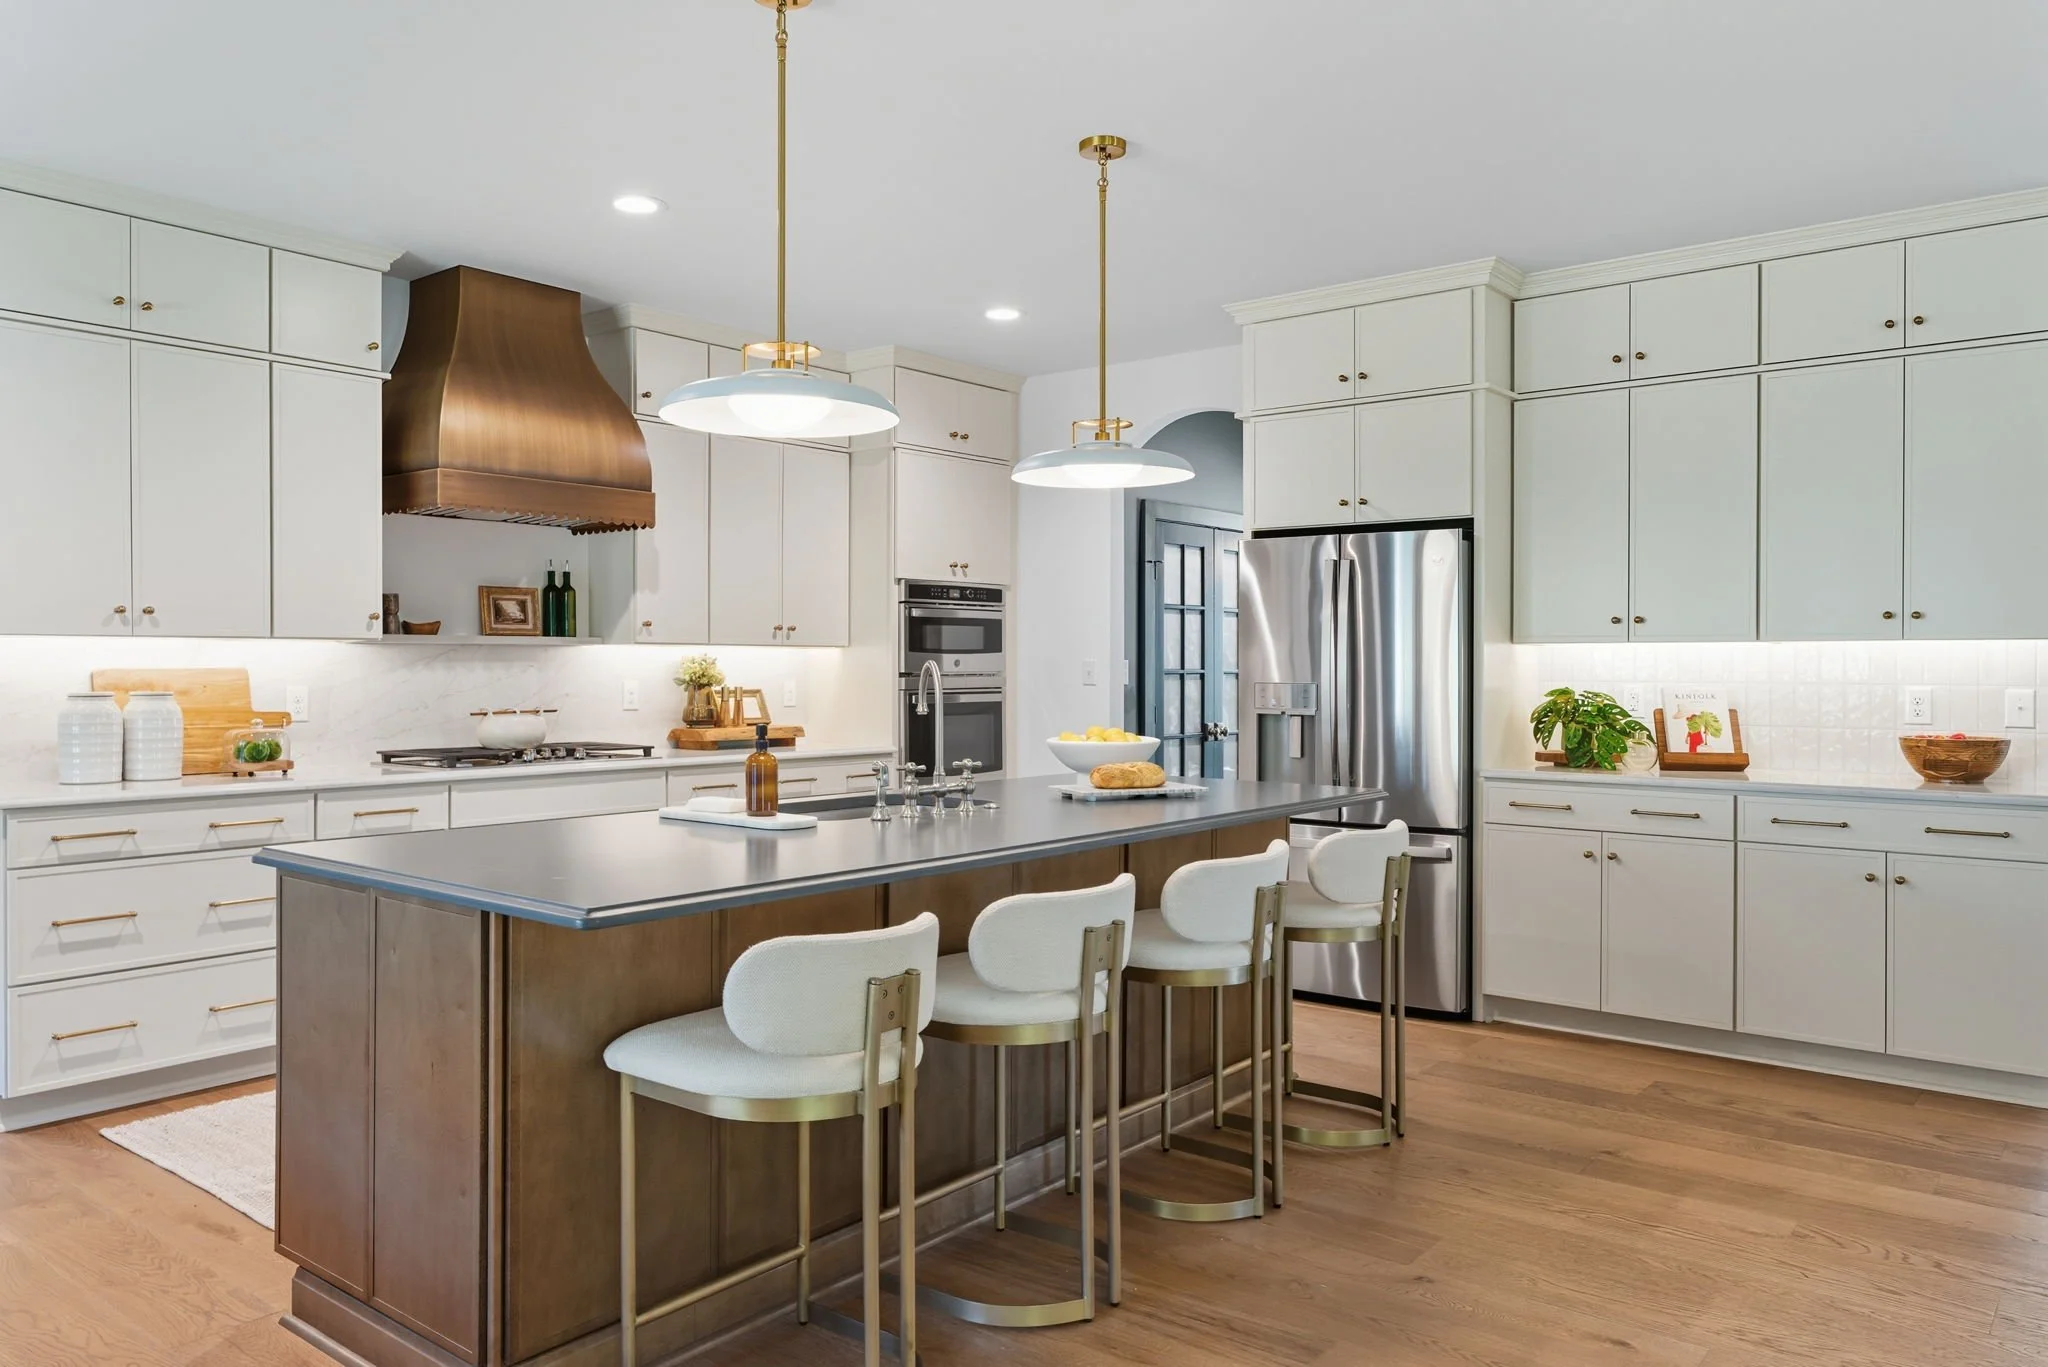
Kitchen Sink and Plumbing Systems
Your project manager will demonstrate several critical features at your kitchen sink:
Testing the Faucet
Check water pressure in both hot and cold settings
Verify the faucet operates smoothly without leaks
Test the spray function if your faucet includes one
Ensure the aerator is clean and water flows evenly
Garbage Disposal Operation The garbage disposal is located right next to your sink and requires proper operation knowledge:
How to operate: Learn the location of the wall switch and proper startup procedure
Safety features: Understanding the reset button location (typically on the bottom of the unit)
Maintenance tips: Never pour grease down the disposal, run cold water while operating, and use ice cubes periodically to clean the blades
What not to dispose: Fibrous vegetables, eggshells, coffee grounds, and bones can damage the unit
Under-Sink Inspection Look for:
Proper connections with no visible leaks
Shut-off valves for both hot and cold water lines
Adequate clearance around the garbage disposal
Clean, finished cabinet interior
Additional Kitchen Checkpoints
Cabinetry
Open and close all cabinet doors and drawers
Verify soft-close mechanisms function properly
Check for scratches, dents, or finish issues
Ensure hardware is tight and aligned
Countertops
Inspect for chips, scratches, or seam issues
Verify backsplash is properly sealed
Check that countertop edges are smooth and finished
Appliances
Test the dishwasher through a full cycle if time permits
Check that all appliances are the models specified in your contract
Living Room Systems and Features
Window Operation and Maintenance
Your windows are a significant investment and require proper understanding:
Operating Your Windows Your project manager will demonstrate the complete operation:
Locking mechanism: Locate and operate the window locks properly
Opening technique: Slide windows up or down smoothly without forcing
Screen removal: Learn how to remove and replace screens for cleaning
Tilt-in cleaning feature: Most modern windows tilt inward for easy exterior cleaning
The Cleaning Clips This often-overlooked feature is incredibly valuable:
Location: Small clips typically on the sides of the window sash
How to use: Pull or push the clips to release the sash
Tilting the window: The entire window tilts inward for safe, easy cleaning from inside your home
Safety note: Always ensure windows are locked in the tilted position while cleaning
Window Inspection Checklist
Check all windows for smooth operation
Verify locks engage properly
Look for any cracks or damage to glass
Ensure weatherstripping is intact
Test that screens fit properly and are damage-free
Bathroom Systems and Shut-Off Valves
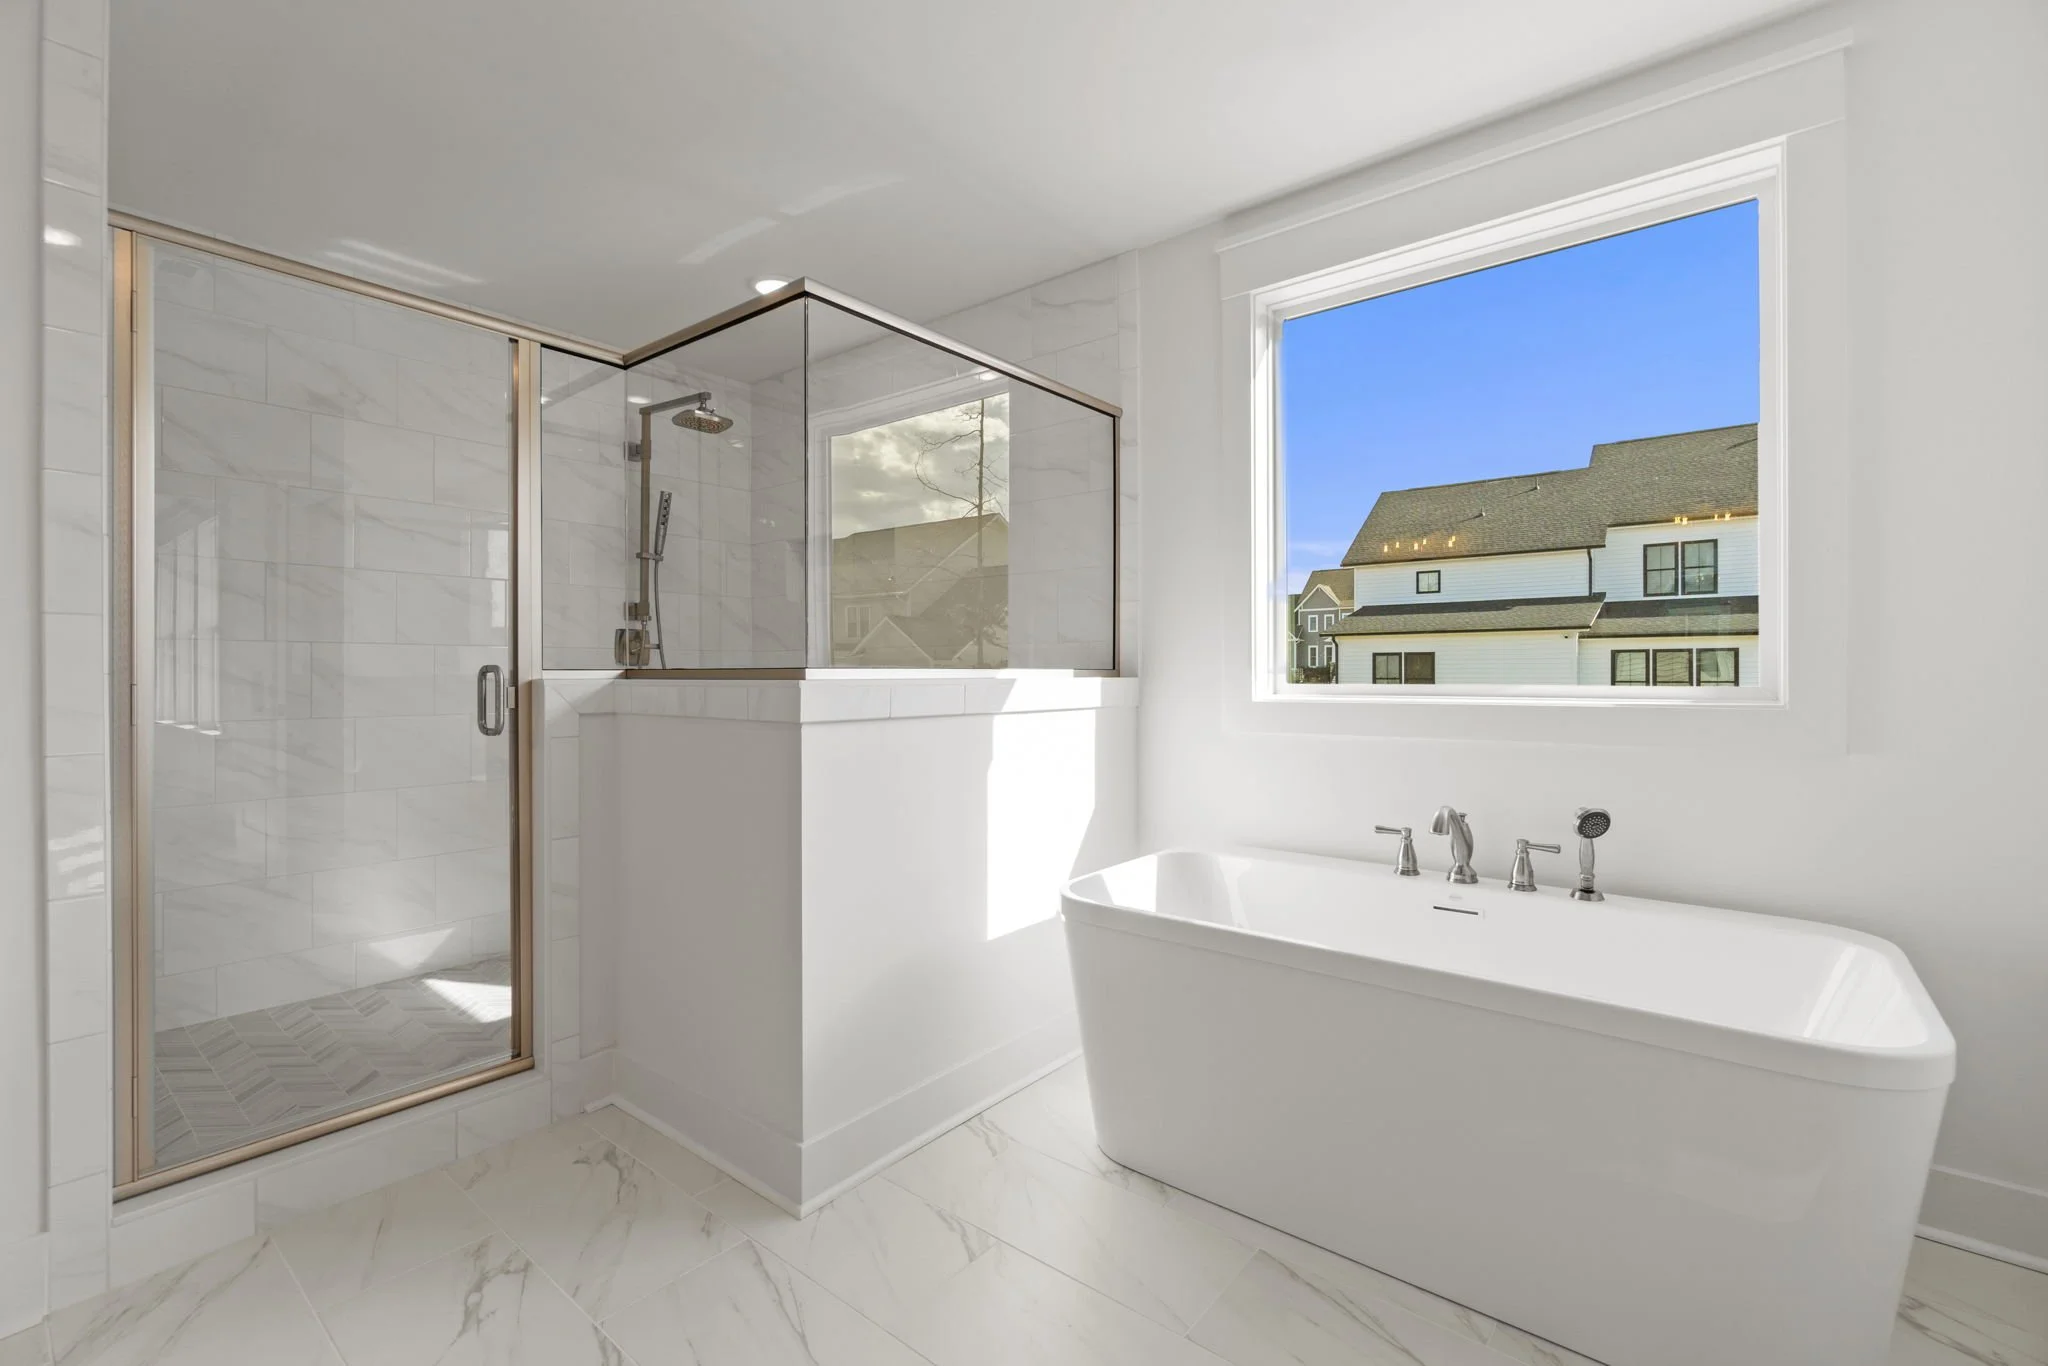
Understanding Your Plumbing
Your bathroom walk-through focuses heavily on plumbing systems and shut-offs:
Vanity and Sink Inspection
Beautiful finishes: Verify your vanity matches specifications and is properly installed
Faucet operation: Test hot and cold water, checking for leaks
Drain function: Ensure pop-up drains work smoothly
Storage: Open all cabinets and drawers to verify proper installation
Critical Shut-Off Valve Locations
Understanding where to shut off water is essential for preventing water damage:
Under-Sink Shut-Offs
Location: Inside the vanity cabinet, typically against the wall
Two valves: One for hot water (usually left) and one for cold water (usually right)
How to operate: Turn clockwise to close, counterclockwise to open
When to use: For sink repairs, faucet replacement, or to stop a leak
Toilet Shut-Off Valve
Location: Behind the toilet, usually on the wall or floor
Single valve: Controls water supply to the toilet tank
Emergency use: Essential knowledge if your toilet develops a leak or won't stop running
Testing: Gently turn to ensure it operates smoothly (don't over-tighten)
Why This Knowledge Matters
Knowing these shut-off locations can:
Save thousands in water damage
Allow quick action during plumbing emergencies
Enable DIY repairs and maintenance
Provide peace of mind when you're away from home
Full Bathroom Features
Toilet Inspection
Flush and verify proper operation
Check for leaks around the base
Ensure seat is secure and properly installed
Verify water fills to the correct level
Shower/Tub Systems
Test all showerheads and handheld sprayers
Check for proper drainage
Verify caulking and grout are complete
Ensure glass doors operate smoothly
Test water temperature and pressure
Ventilation
Turn on exhaust fan and verify operation
Check that fan is quiet and effective
Understand timer settings if applicable
Flooring Systems
Engineered Hardwood Flooring
What Makes Engineered Hardwood Special
Construction: Multiple layers of wood with a hardwood veneer top
Stability: More resistant to humidity and temperature changes than solid hardwood
Durability: The finish is typically very hard and scratch-resistant
Installation: Can be installed over various subfloors
Low Maintenance Requirements
Your project manager will emphasize how easy these floors are to maintain:
Color retention: The finish and color are designed to maintain their appearance over time
Easy cleaning: Simply sweep, vacuum, or use a slightly damp mop
No special treatments: Unlike traditional hardwood, minimal refinishing needed
Long-lasting finish: Factory-applied finishes are more durable than site-applied options
Proper Care Instructions
Daily Maintenance
Sweep or vacuum regularly to remove dirt and grit
Use felt pads under furniture legs
Place mats at entrances to reduce tracked-in dirt
Clean spills immediately
What to Avoid
Never use excessive water or steam cleaners
Avoid harsh chemicals or abrasive cleaners
Don't use oil-based or wax-based products
Never drag furniture across the floor
Protecting Your Investment
Use area rugs in high-traffic zones
Trim pet nails regularly
Remove shoes or use protective shoe coverings during moves
Maintain consistent indoor humidity levels (30-50%)
Open Floor Plan Considerations
Your great open second floor area offers wonderful living space:
Traffic patterns: Understand natural flow through the space
Furniture placement: Note electrical outlets and ideal furniture zones
Natural light: Observe how sunlight enters throughout the day
Acoustic considerations: Open spaces can echo; consider area rugs and soft furnishings
HVAC System and Essential Maintenance
Understanding Your HVAC System
Your heating, ventilation, and air conditioning system is one of your home's most important—and expensive—systems. Proper maintenance starts on day one.
Power Connection Location
Your project manager will show you where the HVAC system connects to power:
Disconnect box: Usually located near the outdoor unit
Purpose: Allows you to safely cut power for maintenance or emergencies
When to use: Before any HVAC maintenance or if the unit malfunctions
The Critical Condensate Drain
This often-overlooked maintenance item can prevent expensive problems:
What Is the Condensate Drain?
Your air conditioning system produces condensation as it removes humidity from your home's air. This water must drain away properly.
Why Cleaning Matters
Prevents water damage: A clogged drain can cause water to back up into your home
Avoids system shutdown: Most modern systems will shut down if the drain line clogs
Prevents mold growth: Standing water in the drain pan creates ideal conditions for mold
Maintains efficiency: Proper drainage ensures your system runs optimally
How to Clean Your Condensate Drain
Your project manager will demonstrate, but here's the basic process:
Locate the drain line: Usually a PVC pipe near the indoor air handler
Find the cleanout: A T-fitting with a removable cap
Flush with water: Pour distilled water or vinegar through to clear debris
Use a wet/dry vacuum: Apply suction to the drain line end outside
Add cleaning tablets: Special tablets can be placed in the drain pan quarterly
Maintenance Schedule
Monthly: Visual inspection for standing water or leaks
Quarterly: Pour vinegar or use cleaning tablets
Annually: Professional HVAC inspection including drain line cleaning
As needed: If you notice reduced cooling or water near the air handler
Additional HVAC Maintenance Tips
Filter Changes
Change every 1-3 months depending on usage and household conditions
Mark your calendar or set phone reminders
Keep spare filters on hand
Choose the right MERV rating for your system
Seasonal Maintenance
Schedule professional service before cooling season (spring)
Schedule professional service before heating season (fall)
Keep outdoor unit clear of debris, leaves, and vegetation
Ensure adequate clearance around both indoor and outdoor units
Electrical System Overview
Your Main Electrical Panel
Understanding your electrical panel is crucial for homeownership:
Panel Location
Your project manager will show you exactly where your electrical panel is located. This is typically:
In the garage
In a utility room
In the basement
Sometimes on an exterior wall
What You Need to Know
Circuit Identification
Each breaker should be labeled clearly
Labels indicate what area or appliance each circuit controls
Keep a flashlight near the panel for emergencies
Update labels if you make any changes
When to Use Your Electrical Panel
Tripped Breaker
If power goes out in one area, check for a tripped breaker
A tripped breaker will be in the middle position or the "off" position
Reset by turning it fully off, then back on
If it trips repeatedly, call an electrician—don't keep resetting it
Electrical Work
Turn off the appropriate breaker before any electrical work
Never work on live circuits
Consider adding a main breaker lockout if doing extensive work
Whole-House Power
Main breaker controls power to entire home
Turn off during extended vacations to save energy and reduce fire risk
Essential to know for emergency situations
Electrical Safety Tips
General Safety
Never overload circuits with too many devices
Use surge protectors for valuable electronics
Install GFCI outlets near water sources (likely already done)
Test GFCI outlets monthly using the test button
Warning Signs Call an electrician immediately if you notice:
Frequently tripping breakers
Burning smell near outlets or switches
Warm or discolored outlets
Flickering lights
Buzzing sounds from switches or outlets
Making the Most of Your Final Walk-Through
What to Bring
Come prepared to your pre-settlement orientation:
Essential Items
Notebook and pen: Document any concerns or instructions
Camera or smartphone: Take photos of important items (panel labels, shut-off locations, model numbers)
Your contract: Reference specifications and included features
List of questions: Prepare questions in advance
Folder for documents: You'll receive important warranty and care information
Optional but Helpful
Tape measure for furniture planning
Outlet tester
Flashlight for inspecting dark areas
Phone charger (the walk-through can take time)
Questions to Ask
Don't hesitate to ask questions during your walk-through:
Operational Questions
How do I operate [specific feature]?
What's the maintenance schedule for [system]?
Who do I call if [issue] occurs?
Are there any quirks I should know about?
Maintenance Questions
What regular maintenance is required?
What maintenance is covered under warranty?
Do you recommend specific products or service providers?
What's the expected lifespan of [component]?
Warranty Questions
What's covered under the builder's warranty?
How long is each component warrantied?
What's the process for warranty claims?
Are there maintenance requirements to keep warranties valid?
Inspection Tips
Be Thorough
Don't rush through the process
Test everything you can
Look at details: corners, seams, edges
Check that all promised features are present
Common Areas to Inspect Closely
Paint coverage and quality
Caulking around tubs, showers, and sinks
Grout lines in tile work
Cabinet and drawer alignment
Door and window operation
Flooring transitions
Hardware installation
Fixture operation
Document Everything
Take photos of any concerns
Note model numbers of appliances and systems
Photograph the electrical panel labels
Record locations of shut-offs and access points
The Pre-Settlement Orientation List
Understanding the Document
The pre-settlement orientation list is a legally binding document:
What Gets Listed Any item that needs attention gets documented:
Incomplete work
Defects or damage
Incorrect specifications
Operational issues
Missing items
The Sign-Off Process
Items are documented: Your project manager writes down each concern
You review the list: Ensure all your concerns are captured
Both parties sign: You and the project manager both sign the document
Items are corrected: Work is completed according to the list
Final approval: You verify corrections have been made
Your Rights
You don't have to close if major issues exist
Serious defects should be corrected before closing
Minor items can be completed after closing with proper documentation
You should understand the timeline for each correction
What Happens After
Immediate Corrections Some items may be fixed immediately:
Simple touch-ups
Lightbulb replacements
Minor adjustments
Post-Closing Work Some items may be scheduled for after closing:
Work requiring special materials
Items needing specific weather conditions
Back-ordered products
Tasks requiring extended time
Your Responsibilities
Keep your copy of the orientation list
Follow up on scheduled corrections
Document completion of each item
Communicate with your project manager about any issues
Ongoing Support
Your relationship with Keel Custom Homes doesn't end at closing:
How to Reach Us
Project manager contact information
Main office phone number
Email contacts
Emergency numbers for urgent issues
When to Contact Us
Warranty concerns or questions
Operational questions about home systems
Issues discovered after closing
Questions about maintenance
Response Expectations
Emergency issues: Immediate attention
Warranty items: According to warranty terms
General questions: Within 1-2 business days
Non-urgent items: Scheduled appropriately
Preparing for Move-In
The Days Before Closing
Utilities Setup
Transfer or establish utility accounts
Schedule activation for closing day
Understand your home's utility providers
Set up automatic payments if desired
Moving Logistics
Schedule movers or rental truck
Plan your move-in sequence
Consider what enters through which door
Protect your new floors during the move
Final Preparations
Change your address with USPS
Update address with important contacts
Transfer or establish internet/cable service
Schedule any needed installations
Move-In Day Tips
Protect Your Investment
Use floor protection during move
Be careful with doorways and corners
Take your time with furniture placement
Have a plan before moving large items
First Tasks
Test all smoke and carbon monoxide detectors
Locate main water shut-off valve
Set thermostat to desired temperature
Begin learning your home's routines
First Week Priorities
Change locks if not already done
Install a Ring or security system if desired
Meet your neighbors
Locate nearby emergency services
Find local hardware store and home improvement center
Conclusion: Your Journey with Keel Custom Homes
The final walk-through marks an exciting milestone in your home buying journey. This comprehensive orientation ensures you're fully prepared to move into and maintain your new custom home with confidence.
At Keel Custom Homes, we believe that the pre-settlement orientation is just as important as any other phase of construction. Our experienced project managers take the time to thoroughly educate you about every aspect of your home because we want you to feel completely comfortable and knowledgeable as a homeowner.
Key Takeaways
Knowledge Is Power
Understand how to operate all systems
Know where shut-offs are located
Learn proper maintenance requirements
Keep important documents organized
Communication Is Essential
Ask questions during your walk-through
Document any concerns
Keep contact information handy
Reach out when you need support
Maintenance Protects Your Investment
Follow recommended maintenance schedules
Address small issues before they become big problems
Keep warranties valid through proper care
Invest in routine professional inspections
Ready for Your Final Walk-Through?
Whether you're currently building with Keel Custom Homes or planning your future custom home, understanding the final walk-through process helps you know what to expect. This orientation is designed to give you complete confidence in your new home and ensure you're ready to enjoy every aspect of your custom-built space.
Questions about the pre-settlement orientation process? Contact Keel Custom Homes today. Our experienced team is here to guide you through every step of your home building journey, from initial design consultation through your final walk-through and beyond.
Final Walk-Through Checklist
Use this checklist during your orientation:
Kitchen
Test all burners on the range
Operate garbage disposal
Check sink faucet and spray
Open all cabinets and drawers
Test dishwasher
Verify all appliances are present and operational
Locate under-sink shut-off valves
Living Areas
Test all windows for smooth operation
Learn window cleaning features
Operate gas fireplace
Check all electrical outlets
Test light switches and fixtures
Inspect flooring for damage
Bathrooms
Locate all shut-off valves
Test faucets and drains
Flush toilets and check operation
Turn on exhaust fans
Check shower/tub function
Inspect caulking and grout
HVAC System
Locate condensate drain
Note filter size and location
Find thermostat operation instructions
Locate outdoor unit
Understand maintenance requirements
Electrical
Locate main electrical panel
Review circuit labels
Test operation of a breaker
Note emergency contacts
Documentation
Receive warranty information
Get appliance manuals
Obtain maintenance schedules
Keep project manager contact info
Save signed orientation list
Frequently Asked Questions
Q: How long does the final walk-through take?
A: Most pre-settlement orientations take 1-2 hours, depending on the size of your home and the number of questions you have. Don't rush—this is your time to learn about your home.
Q: Can I bring someone with me to the walk-through?
A: Absolutely! Many homeowners bring family members, and some even bring their inspector or a knowledgeable friend. Just let your project manager know in advance.
Q: What if I find a problem during the walk-through?
A: Any issues will be documented on the pre-settlement orientation list. Your project manager will explain how and when each item will be addressed.
Q: Should the walk-through be done before or after cleaning?
A: Your walk-through should occur after final cleaning, when your home is move-in ready. This allows you to see your home as you'll receive it.
Q: What happens if I can't make the scheduled walk-through?
A: Contact your project manager immediately to reschedule. The walk-through should be completed before closing, so early communication is important.
Q: Do I need to take notes, or will I receive written information?
A: You'll receive warranty documents and care instructions, but taking your own notes and photos is highly recommended. Every homeowner retains information differently.
Q: What if I think of questions after the walk-through?
A: Your project manager's contact information will be provided. Don't hesitate to reach out with additional questions—we're here to help!